
Publish a graph
Turn a graph into a public link anyone can open.
Pro: Publishing is a Pro feature of the web app.
Publish
Open the graph you want to share
The Main Graph, or any Custom Graph. Publishing a Custom Graph is how you share one project without exposing the rest of your workspace.
Set it up the way you want it seen
Filters, node groups, colours and sizes are captured when you create the link. Get it looking right first.
Click Publish, then generate the link
Copy it and send it on.
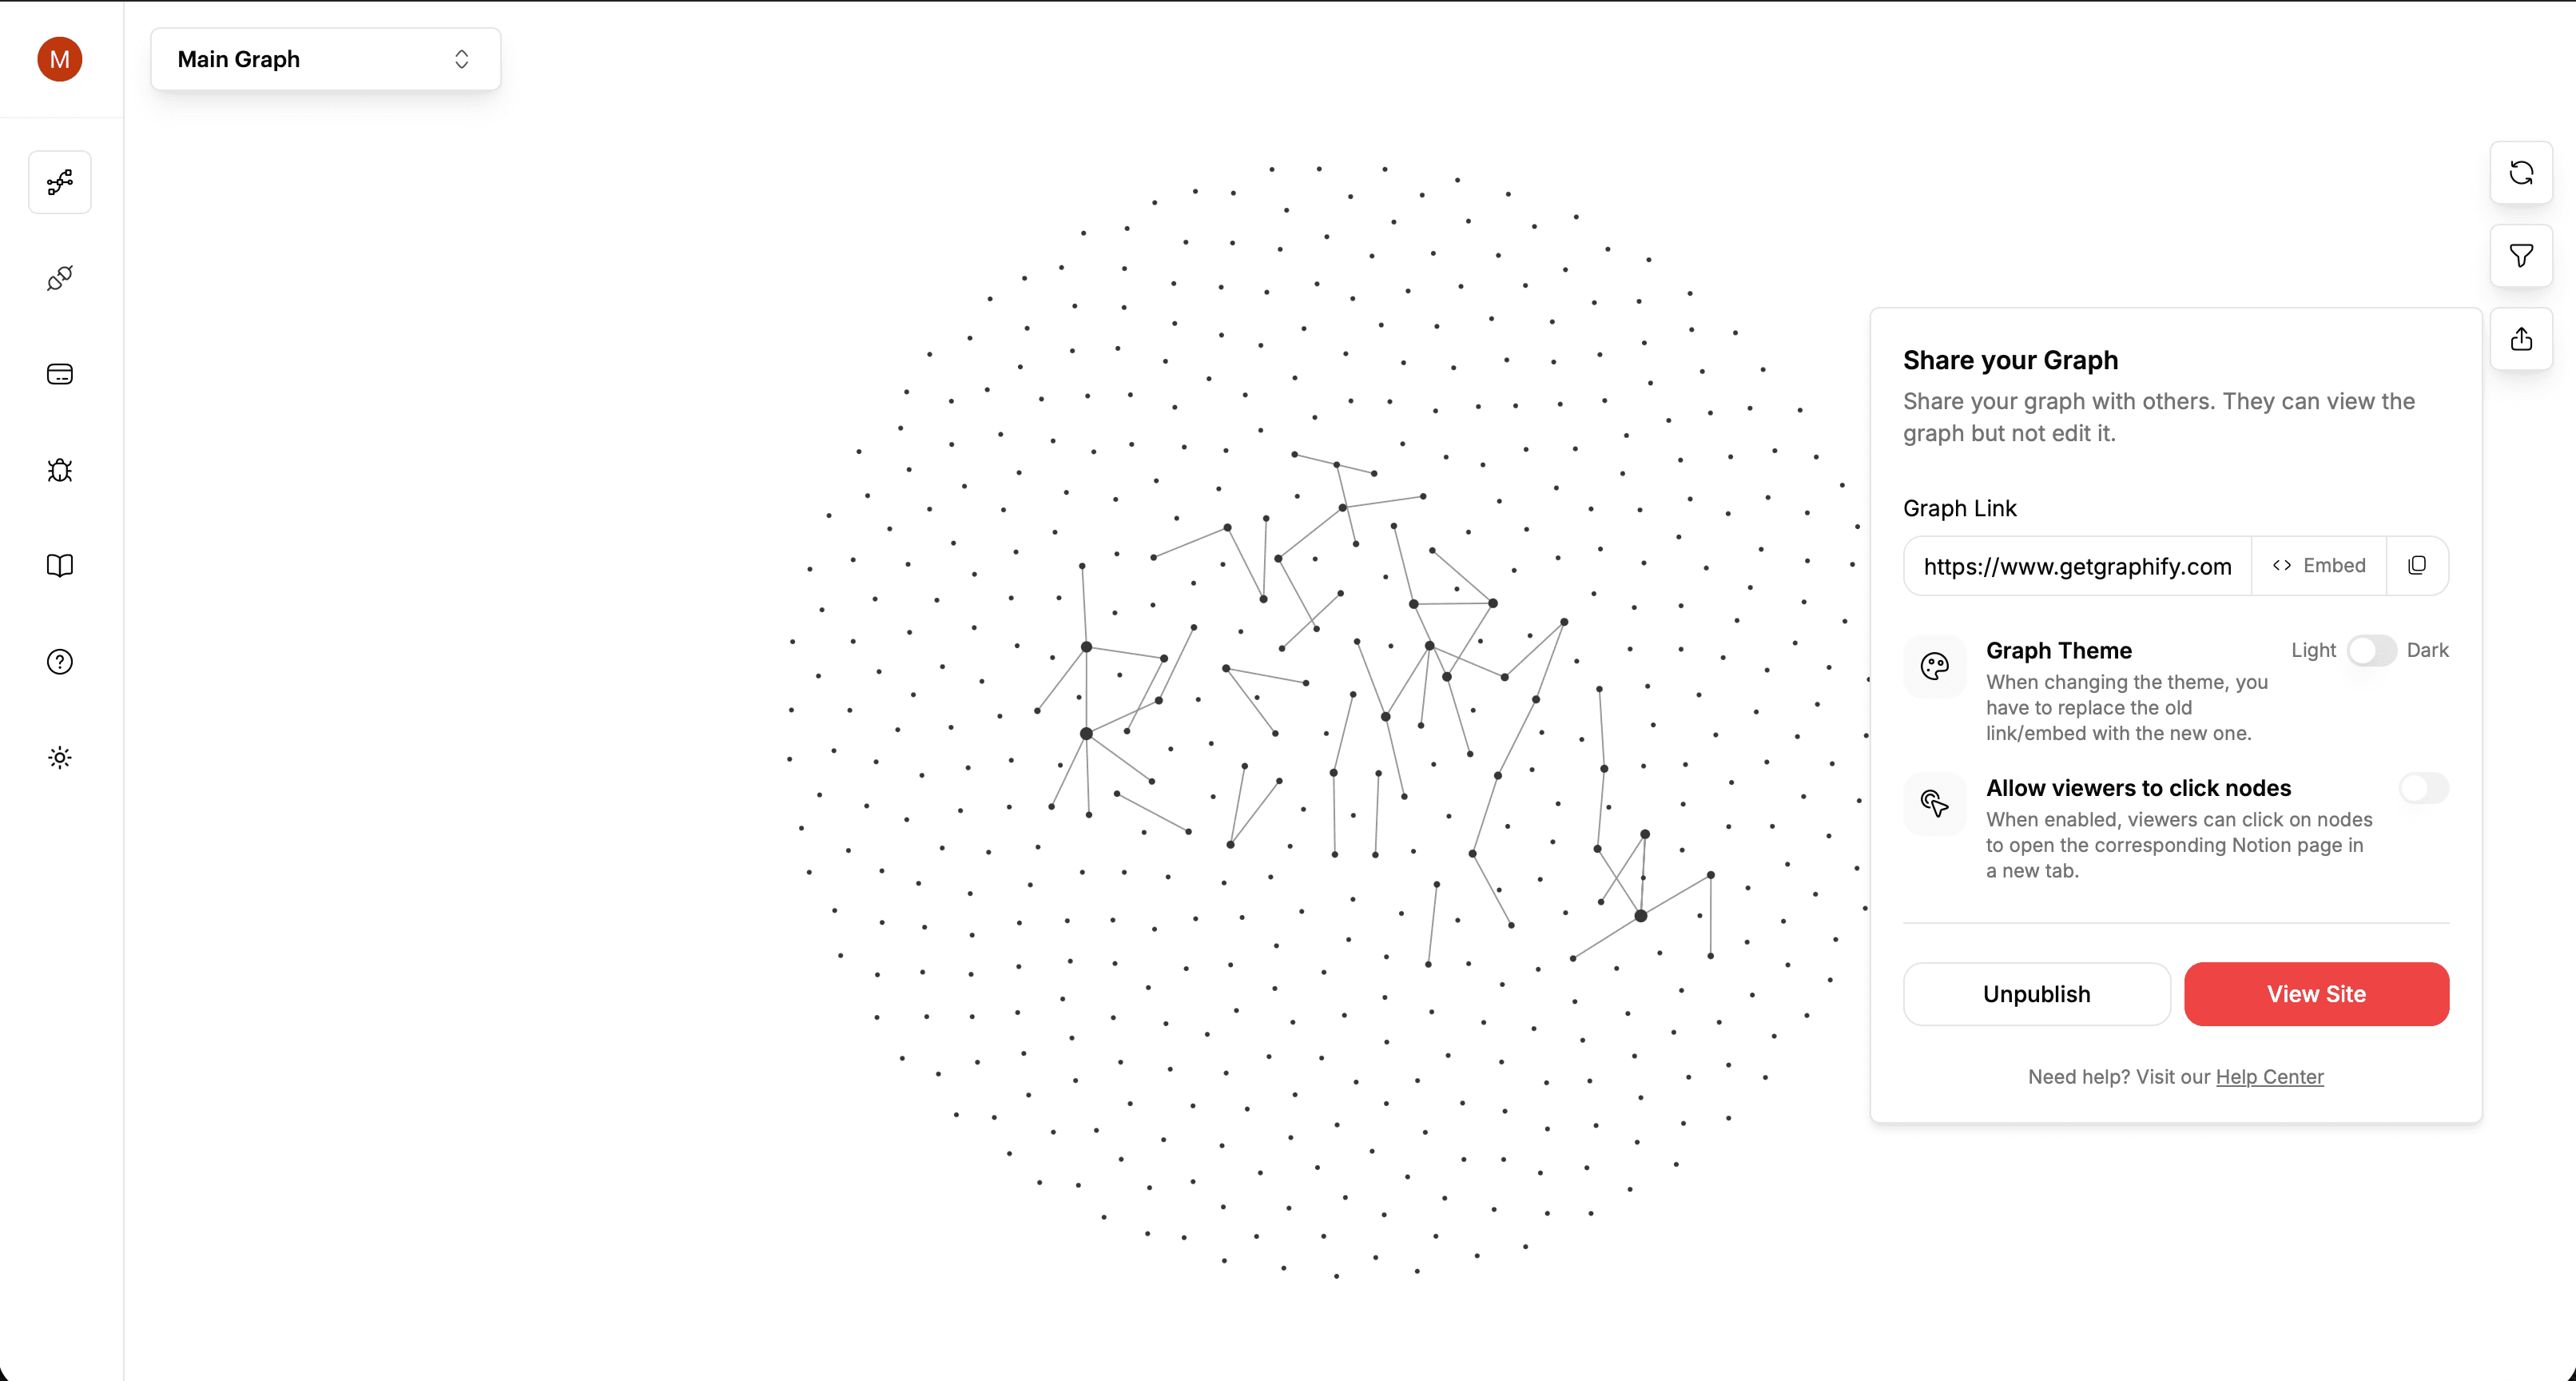
What visitors get
They see the graph, and only the graph. They can hover, drag, zoom and explore. They can't edit anything, and they can't reach any part of your workspace that isn't in the shared graph.
You choose whether clicking a node opens the underlying Notion page. Turn that off for anything you don't want strangers following.
Live content, frozen styling
Worth understanding, because it surprises people:
- Content follows the graph. Add a page to the Custom Graph and it appears on the shared link too. It's not a snapshot.
- Styling is captured at publish time. Sizes, distances, link colours, visible link types, particles, arrows and node groups are the ones that were active when you created the link.
If you restyle a graph and want visitors to see the new look, publish it again.
Unpublishing
Unpublish at any time and the link stops showing anything immediately.
A new link, not the old one: If you publish again after unpublishing, you get a fresh link. Anyone holding the old one has nothing. Send the new link out.
Next
Still stuck? Tell us what you were doing when it went wrong.
hello@getgraphify.com